This tutorial shows you the simple ways to transfer videos, music, photos, and more from PC to your Surface 2 on Windows 8.1/8.
.
Surface 2 is an ideal device for browsing, playing, reading outdoors. You got this new Windows 8.1 RT tablet and the first thing you may want to do is to import photos, videos, music from your PC on Windows 8.1/8 to your new Surface 2 Tablet.
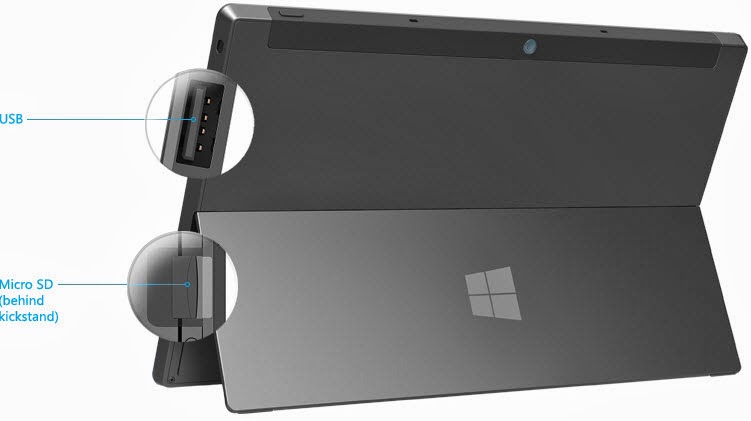
One of the advantages with Windows tablets is you get USB Port, microSD Port. Transferring files or media is same as transferring on to new laptop or computer on Windows 8.1/8. There are ways for you to transfer a variety of files from your Windows 8.1/8 PC to your Surface 2. The article aims to give you some tips for newbies of Surface 2 of how to seamlessly move music, pictures, videos, and documents to your Surface 2.
For Microsoft Surface 2 file transfer, you can use one of the following methods:
- Connect to a networked computer
- Use a USB flash drive or a memory card — microSD, microSDHC, or micro SDXC cards all work with Surface 2.
Connect to a network computer
Surface 2 can access music, pictures, videos, and documents on computers that are part of your home network. To see the files and folders that have been shared on your network, go to the Start screen and open File Explorer. Shared items appear under HomeGroup or Network.
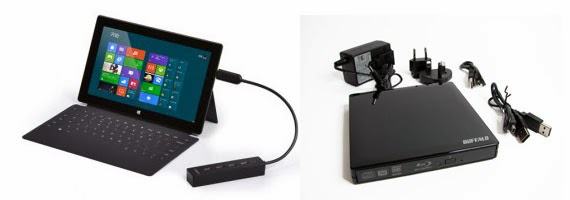
Use a USB flash drive or memory card
You can also move files to Surface 2, by copying them to a USB flash drive or memory card (microSD, microSDHC, or micro SDXC cards all work with Surface 2) and then adding the files to Surface 2.
Here’s how:
1. Copy files onto a USB flash drive or memory card on your other computer.
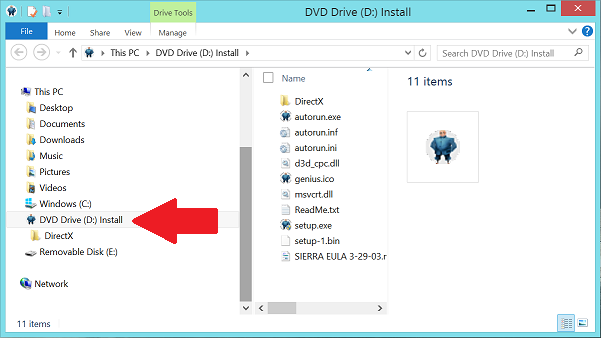
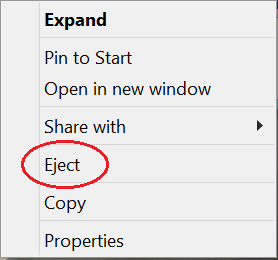
2. Insert the USB flash drive or memory card into Surface 2.
3. Tap or click the notification that appears in the upper-right corner of the screen.
4. Tap or click Open folder to view files.
File Explorer opens.
5. Select the files or folders you want to add to Surface 2, tap or click Home, and then tap or click Copy to.
6. Select a location. For example, choose Documents if the flash drive or memory card contains documents.
Use SkyDrive
With SkyDrive, you can store music, pictures, and documents in the cloud and access them from any web-connected device. This includes your Surface 2, phone, or any computer.
To learn more see SkyDrive or help within the SkyDrive app (open the Settings charm, and then tap Help).
Notes
You need to have a Microsoft account associated with your user account to use SkyDrive.
By default, Microsoft Office Home & Student 2013 RT Preview saves documents to SkyDrive.
How much local storage space do I have?
To see how much storage space you have:
- Open the Settings charm, tap or click Change PC settings.
- Tap or click General.
- Scroll down to Available storage, to see how much storage space you have.
Or don’t move files to Surface 2. Store them in the cloud instead using Your files on SkyDrive. This way you can access your files from other computers or your phone.
Tips – Prepare unsupported files on Windows 8.1/8 for MicroSoft Surface 2 Tablet
What if you have files on your desktop or laptop computer on Windows 8.1/8 that you want to use on your Surface 2 Tablet, but the files are stored in the wrong format? In most cases, you can use a program or utility on your computer to convert the files to a compatible format. Below are some small tips for synchronizing videos/pictures/music to your MicroSoft Surface 2 Tablet:
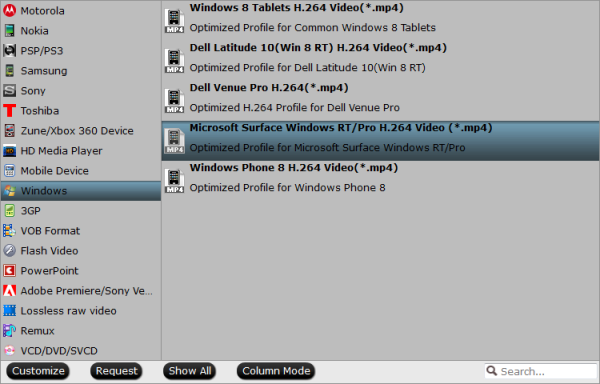
1. When the files are not friendly or unsupported by Surface 2, you will need reformat these videos for Surface 2 Tablet first.
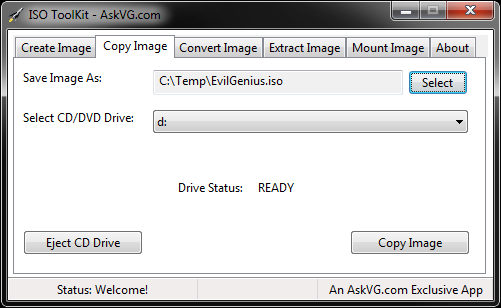
2. Movies purchased or downloaded from online (e.g. iTunes, BBC iPlayer) or the Digital Copies from Blu-ray or DVD discs have playback restrictions – so called DRM restriction. Windows Store does not seem to have any apps like iTunes Remote or iTunes sync yet. To have your surface 2 play these movie purchases, get yourself a DRM removal tool first.
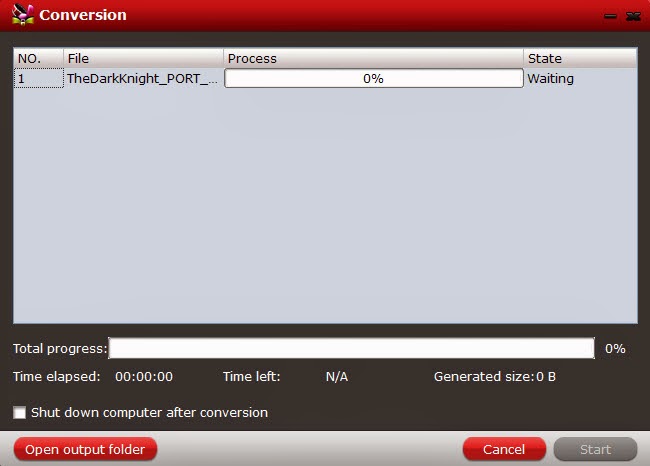
3. Compress/Convert your HD videos when necessary. By necessary I mean when the Surface 2 pops up an error message saying unsupported file or plays video in slow motion.
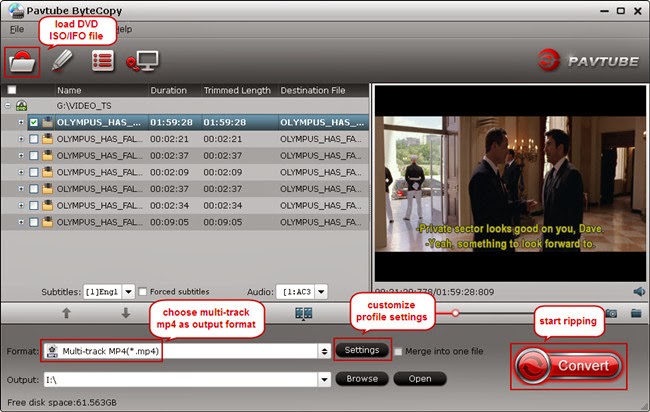
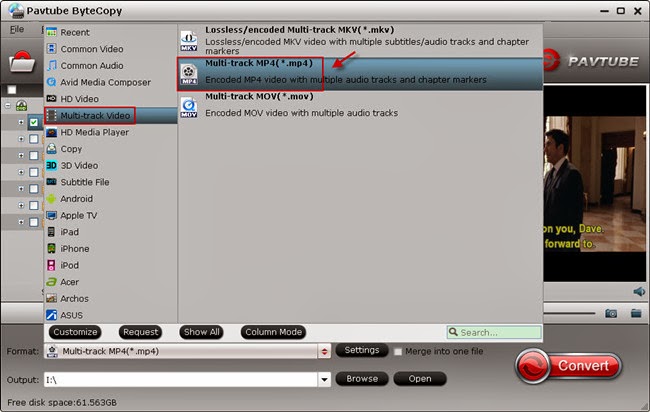
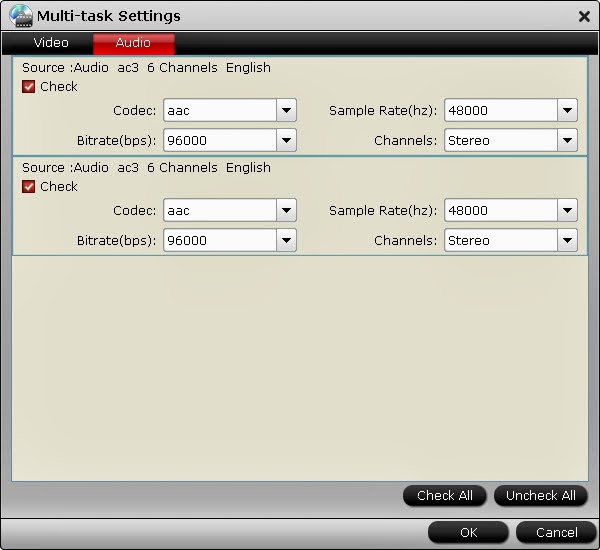
4. If you have the intention to transfer Blu-ray, DVD movies as well as your personal HD video files to Microsoft Surface 2, you’d better get the best all-in-one video convert tool Blu-ray Video Converter Ultimate to have fastest and most effective.
That’s all. Hope this article is really useful for you to share and watch media files on Surface 2. Have a good time!